

How To Install Privacy Window Film
Leap to How-To
My tips on installing mirrored 1 way privacy window picture show. This is a very honest DIY tutorial to prevent whatsoever frustration and bug you might face past following YouTube videos.
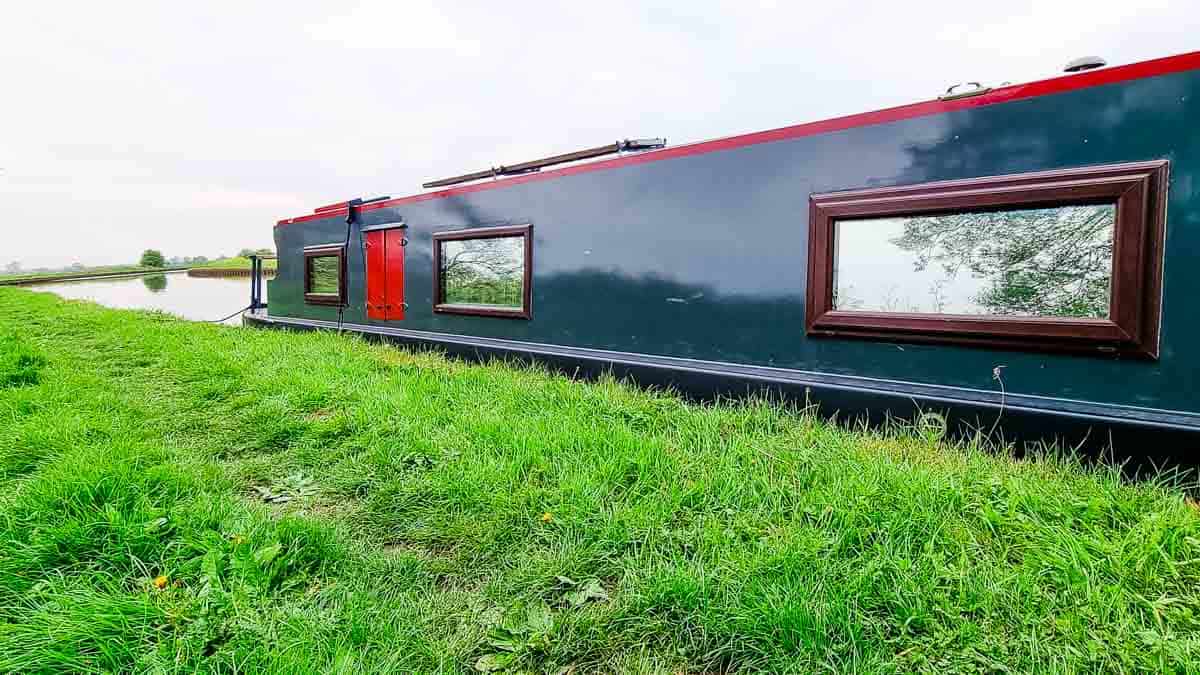
Recently I installed this one mode vision glass vinyl film on our UPVC narrowboat windows .
I understand UPVC on a boat is an unusual combination, just one way window film should as well work on traditional narrowboat windows if you can't beget tinted glass.
But, if you're in a firm, a one style glass window picture tin can also exist used as:
- bath window privacy
- kitchen window privacy moving picture
- glass door film
- shower window privacy flick
- upcycled furniture with glass windows for a mirrored effect
- bedroom window privacy film
Beneath, you can see how nosotros've used privacy film on windows for our narrowboat so nosotros tin run into out, not in from the towpath. *Note, the eye window hasn't had it installed by this point.

How One Fashion Privacy Window Film Works
At that place's lots of windows movie available on the market, depending on the type you want. You lot can buy:
- patterned window film
- opaque window pic, like frosted
- coma window film
- and one way mirror window film, often in silver or bluish*
We chose the last option above, which is also tinted window film. And how information technology works is, during the mean solar day when it'due south sunny exterior, nosotros tin can see out, only no one can see in.

Can Y'all See Through Privacy Films for Windows At Dark?
When it's night outside, privacy film for windows at night piece of work in reverse. For example, in the photo above, y'all can meet that it changes into a mirror on the inside.
This also ways that people tin see straight in from outside, so you'll probably desire some defunction or additional blinds.
If this is not for you, and so I advise you attempt and buy a 2 fashion window flick for day and night privacy .

Applying Privacy Window Film
First, permit'due south talk nearly how there are many dissimilar videos on YouTube on how to install privacy window film.
And if you're new here, some friends and family have called me the Queen of DIY from purely watching several videos and then attempting things for myself.
Withal, I ended upwardly installing window film for privacy my own way, considering I didn't like the first result. So I'm going to share how I cut to fit window privacy film a much simpler way.

Mistakes To Avoid When Applying Viscous Window Privacy Film
To a higher place, you can meet my showtime attempt film on windows for privacy and it didn't get as smoothly as many of the YouTubers I saw. Then I'm going to list the issues y'all could face in an attempt to expose what could have been left out.
One Mode Window Motion picture Can Slip
The start lesson I learned when cut privacy windows film is that you need to brand sure it'south a manageable size. Otherwise, it can be heavy and keep slipping down. Many videos say exit an assart to trim, which I sort of agree. But because you'll be left with some waste material, you may not feel inclined to brand two cuts from the get go.
Use a Abrupt Arts and crafts Knife
I might be stating the obvious hither, but yes, you need to cut for frosted drinking glass film, or whatever you choose with a sharp Stanley knife. And you might need to proceed replacing it, or it can elevate and ripple. Likewise, don't cut in the direction away from a corner - ever cut towards a corner, or information technology can also elevate.
If You Take OCD, You'll Hate Plumbing equipment Decor Window Motion picture
And finally, if you have OCD, yous will absolutely hate plumbing fixtures privacy window movie. There is a serious amount of bubbles and moisture to remove and you need a lot of patience and perseverance.
If this is not yous, I suggest yous buy tinted glass, or hire someone to do the job, OR, install with the intention of mayhap fitting Venetian blinds too.

Leaving An Assart To Cut Can Create Bug
The biggest issue I found (and ended up fitting window frosting my way) was leaving an allowance created a few potential issues:
- It can be such a tight fit, leaving the film to overlap and curve around the window beading and not sticking to the window properly. *You can see this in a photograph above).
- Cutting with a Stanley knife doesn't give you a perfect straight edge all the time, just running alongside a credit menu does help.
- I concur with some videos that exact tiptop is better and go out an allowance either side if you must. If you get out an assart at the summit, the water struggles to escape.
- When pulling off the excess film, you risk vehement it, which is not an attractive look
- Poorly fitted window clings are very noticeable from the outside during the twenty-four hours

My Method on How to Put Upward Mirror Window Moving picture
Because I hated the results of my offset removable window tint (and I don't similar beingness defeated), I want to show y'all my quicker method.
And that is to mensurate the exact visible glass yous have within the window's beading.
Simply there'due south two caveats to this method:
- Y'all must triple check your measurements, because you tin can adventure cutting it as well small if yous measure out wrong
- And, the internal beading is never Blindside on, so y'all will get the odd millimeter if windowpane not covered, which I am happy to sacrifice due to the below reasons.
The reason I adopt this is:
- It's quicker
- Less frustrating than fitting WITH an allowance to trim after
- You don't take chances making untidy slices with a stanley knife
- Less time trying to remove moisture and bubbles
- It's more probable to stick down on the corners
- You don't need to continue changing Stanley knife blades
Disclaimer: we do as well plan to fit Venetian Perfect Fit Blinds on our narrowboat windows for actress privacy, and then any edges will be covered.

Prep Before Installing One Way Window Film
Earlier you lot even get started, it's imperative that your glass clean. This means:
- No dust particles
- Remove grease marks or fingerprints
- No specs of pigment from previous renovation jobs
- Remove silicone along the edges of the drinking glass if smeared on, or any bumps protruding just outside of the beading
To do this, I:
- Used my metal vinyl smoother equally a scraper to remove paint marks
- Removed any silicone with some WD40 and newspaper towel and gently rubbed away
- Cleaned with windowlene
- Used a microfiber cloth to remove whatsoever particles

Wet Your Windows
Yous'll also demand to create a slippy environment and then you tin can easily movement your 1 way privacy window tint into the position y'all demand.
Then in a higher place, I'thou spraying with a soapy h2o solution. This is just warm water mixed with a drib of washing up liquid.
Alternatively, some tutorials recommend baby shampoo.

Peeling The Backing Off I Manner Film
Virtually one way mirror film come with a peelable backing that you lot need to separate. Although, if you worked in retail similar me, you'll know that any window shop window decals are vinyl and merely need h2o and a squeegee. Not so here.
To peel off, y'all can add some masking tape tabs on both sides of one of the corners. So try to pull them apart, using them as handles. *But as long equally you have clean fingers, I didn't think it was that important.
If dealing with a VERY big window, I would just peel off part, spray with h2o, then line up to the window. Then peel and spray every bit y'all go as I did in my How to Wrap a Kitchen Door With Fablon guide . I think this is less vital when dealing with very small windows.

Position And First Smoothing Out
One time you lot've carefully positioned your 1 mode window film, you should be able to glide it about until you're happy.
You and so need to spray with more soapy h2o, and then use a firm, simply not sharp, squeegee to run the wet out.
Besides, proceed some paper towels at paw to blot the backlog water.

Remove Bubbles With a Smaller Squeegee
The final chore, which is where you'll lose the virtually time, is smoothing out all the lilliputian bubbles. For this, yous'll demand to use a small-scale, firmer squeegee. If you don't accept one, then employ a credit card.
You lot can wrap some paper towels around information technology to avert dissentious the privacy window tilt picture show.
Cheque Your Ane Way Frosted Drinking glass In Unlike Lighting
While you lot attempt to smooth out all of the bubbles, information technology tin be difficult to run across them all. And they're as well harder to remove the morning time after.
So, I recommend turning your firm lights on and off and inspect from all angles. Fifty-fifty wear a head torch if needed.
And good luck!
Prep Time thirty minutes
Active Time 15 minutes
Total Time 45 minutes
Materials
- Window cleaner
- Paper towels
- Washing upward liquid
Tools
- Large squeegee or vinyl smoother
- Small squeegee
- Spray bottle
- Stanley pocketknife for tricky areas
Instructions
- Clean the windows thoroughly and ensure dust and paint free
- Measure and cut the privacy window flick to the exact window size
- Spray the window with washing upward liquid solution
- Peel the backing off the window film and place in the window
- Slide into position
- Spray the movie once again
- Smooth with a large duster, running out the water
- Apply a smaller squeegee for smaller bubbles
- Inspect until all bubbling are removed and exit.
Yous Might Also Similar
- Our buying a narrowboat experience
- Fitting double glazed windows
- Installing double roller blinds
- Fitting solarium blinds
- How to mensurate and install bay window blinds
- Adjusting sloping window vertical blinds
- DIY conservatory roof blinds
- How to recycle DIY roller blinds
Source: https://thecarpentersdaughter.co.uk/tips-and-tricks/installing-one-way-privacy-window-film/
Posted by: petersonserch1970.blogspot.com
0 Response to "How To Install Privacy Window Film"
Post a Comment